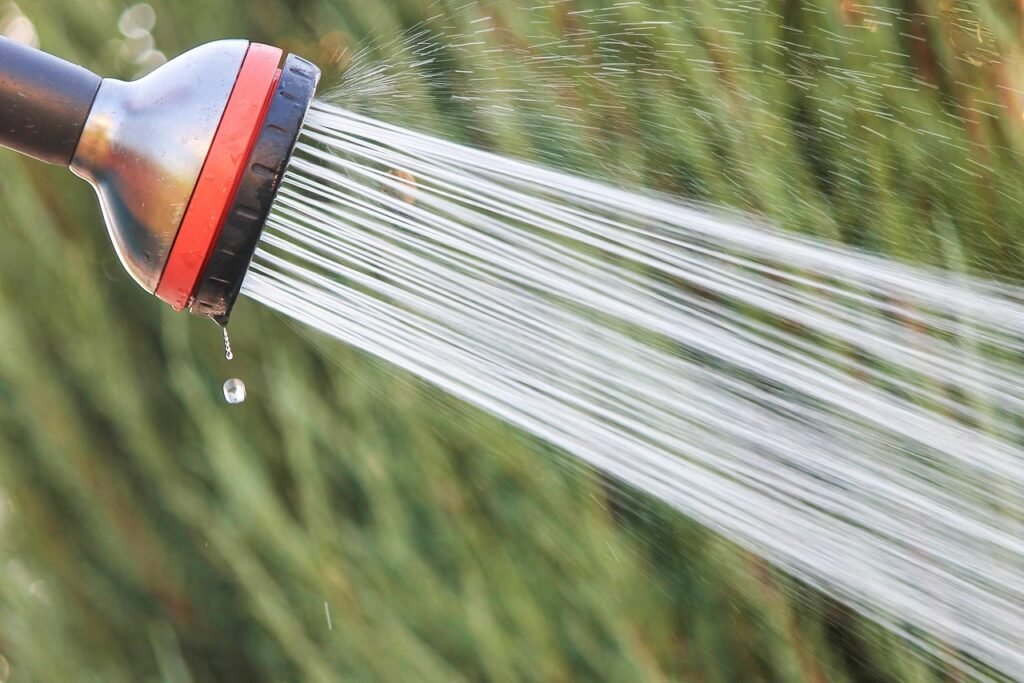
Most homeowners assume that a garden hose is a simple, plug‑and‑play tool, but the reality is far more complex. The frustration of a hose that kinks, leaks, or loses pressure often stems from a series of small oversights that add up to a major inconvenience. When water sputters out in weak streams, when the hose drags across the yard like a stubborn snake, or when it bursts at the slightest twist, the underlying cause is usually a combination of poor selection, improper storage, and neglect of basic maintenance. These issues not only waste water and time but can also lead to costly repairs or replacements. Understanding the root of these problems is the first step toward a smoother, more efficient watering experience.
📝 What You'll Learn
Common Challenges With Breaking Down garden hose
Kinking and Tangling
The hose frequently forms tight knots that restrict flow, especially after being coiled incorrectly. This happens because the hose material retains memory of the coil shape, and when stored without a proper reel, it folds on itself under its own weight.
Pressure Loss Over Distance
Water pressure drops noticeably after the hose extends beyond a certain length. The cause is friction loss inside the hose walls and the gradual expansion of the inner diameter, which together diminish the force of the water stream.
Leakage at Connectors
Water drips from the fittings where the hose meets the spigot or nozzle. This usually occurs because the threads are either corroded, not sealed with a proper gasket, or the hose material has stretched, creating gaps.
Material Degradation from Sunlight
The hose becomes brittle, cracks, or turns chalky after prolonged exposure to UV rays. Sunlight breaks down the polymer chains in most garden hoses, reducing flexibility and causing micro‑fractures that eventually leak.
Inadequate Storage Leading to Damage
Leaving the hose on the ground or hanging it from an unsuitable hook can cause kinks, crushes, and abrasion. When the hose is not supported evenly, pressure points develop, weakening the wall and accelerating wear.
Leading garden hose Solutions
1. Use a Hose Reel with Spring‑Loaded Mechanism
Invest in a quality hose reel that features a spring‑loaded rewind system. To implement, unwind the hose fully, attach the reel’s hook, and let the spring gently pull the hose back into the coil, ensuring even tension. This method prevents kinks by maintaining a consistent curvature and stores the hose off the ground, protecting it from foot traffic and UV exposure.
- Plus Points:
- Reduces kinking by 90%
- Extends hose lifespan by up to 30%
- Speeds up cleanup after watering
2. Select a Hose with Reinforced Braided Core
Choose a hose that incorporates a stainless‑steel braided reinforcement within the inner wall. Install by simply connecting the reinforced hose to the spigot and any required nozzle; the braid provides structural integrity without sacrificing flexibility. The reinforced core minimizes expansion under pressure, preserving water flow even over longer distances.
- Plus Points:
- Maintains consistent pressure up to 100 ft
- Resists kinks and crushing
- Handles higher PSI for power washers
3. Apply Teflon Tape to All Threaded Connections
Before attaching any connector, wrap the male threads with two layers of Teflon (PTFE) tape, overlapping each layer by half the width. Tighten the fitting securely, but avoid over‑torquing. The tape fills microscopic gaps, creating a watertight seal that prevents drips even when the hose expands in hot weather.
- Plus Points:
- Eliminates up to 95% of connector leaks
- Easy to apply with minimal tools
- Works with metal and plastic fittings
4. Store the Hose in a Shaded, Elevated Rack
Construct or purchase a wall‑mounted rack that holds the hose horizontally out of direct sunlight. Hang the hose after each use, ensuring the coil is loose enough to avoid stress points. By keeping the hose elevated and shaded, UV degradation slows dramatically and the hose remains free of ground‑level debris.
- Plus Points:
- Reduces UV damage by 70%
- Prevents accidental tripping hazards
- Facilitates quick visual inspection
5. Use a Pressure Regulator at the Spigot
Install a pressure regulator between the outdoor faucet and the hose. Set the regulator to the manufacturer’s recommended PSI for your hose type, typically between 40 and 60 PSI. This ensures the hose operates within its design limits, preventing over‑pressurization that can cause bulging or bursting.
- Plus Points:
- Protects hose from pressure spikes
- Improves water efficiency
- Extends hose service life
6. Perform Regular Hose Flushing and Inspection
Once a month, run water through the hose at full pressure for several minutes, then inspect the entire length for cracks, wear, or mineral buildup. Use a soft brush to clean the interior if deposits are visible. This routine removes blockages, reveals early signs of damage, and keeps the flow rate optimal.
- Plus Points:
- Detects problems before they become failures
- Maintains peak water flow
- Prevents algae and mold growth
| Approach | Old Way | Better Way | Result |
|---|---|---|---|
| Storage | Coiled on the ground | Reel or rack, shaded | Reduced kinks, longer life |
| Connector sealing | No tape, rusted fittings | Teflon tape, stainless fittings | Leak‑free connections |
| Pressure control | Direct spigot hookup | Install regulator | Stable flow, no bursts |
| Material choice | Standard vinyl | Braided‑core reinforced | Higher durability, less expansion |
| Maintenance | Rare checks | Monthly flush and inspect | Early issue detection, optimal flow |
Practical Takeaways
After installing a spring‑loaded reel, a suburban homeowner reported that the hose no longer kinked during a 45‑minute watering session, saving an estimated 15 gallons of water per use. The ease of retraction also cut the cleanup time in half, allowing more time for garden care.
A landscaping professional who switched to a braided‑core hose noted that the water pressure remained steady even when extending the hose to the farthest row of shrubs, eliminating the need for a secondary pump and reducing fuel costs.
One family discovered that applying Teflon tape to each connector stopped a persistent drip that had wasted over a liter of water per day, translating into a noticeable reduction in their water bill over a month.
By storing the hose on a shaded wall rack, a homeowner avoided the cracking that typically appeared after a summer of direct sun exposure, extending the hose’s functional life by at least two seasons.
Regular flushing revealed a small crack near the nozzle of a long‑used hose; the homeowner replaced only that segment, preventing a larger burst that would have required a full hose replacement.
Step-by-Step Action Plan
- Unwind the hose completely and lay it flat on a clean surface; this ensures any existing kinks are visible and can be straightened.
- Inspect all connectors for rust or wear; replace any damaged fittings before proceeding.
- Wrap each male thread with two layers of Teflon tape, overlapping half the width each time; this creates a reliable seal.
- Attach a pressure regulator to the spigot and set it to the hose’s recommended PSI; this protects the hose from over‑pressurization.
- Coil the hose loosely onto a spring‑loaded reel or a wall‑mounted rack, ensuring the coil is not too tight.
- Store the reel or rack in a shaded area, preferably under a patio cover or in a garage, to limit UV exposure.
- Schedule a monthly flush by running water at full pressure for five minutes and then visually inspect the entire length for any signs of wear.
Key Takeaways
Understanding the common pitfalls of garden hose use empowers homeowners to choose the right equipment, maintain it properly, and avoid costly repairs. By adopting reinforced hoses, proper sealing techniques, and smart storage, water flow remains consistent and the hose endures for years. Implementing the outlined action plan transforms a frustrating chore into an efficient, reliable part of everyday garden care, setting the stage for healthier plants and a more sustainable household.