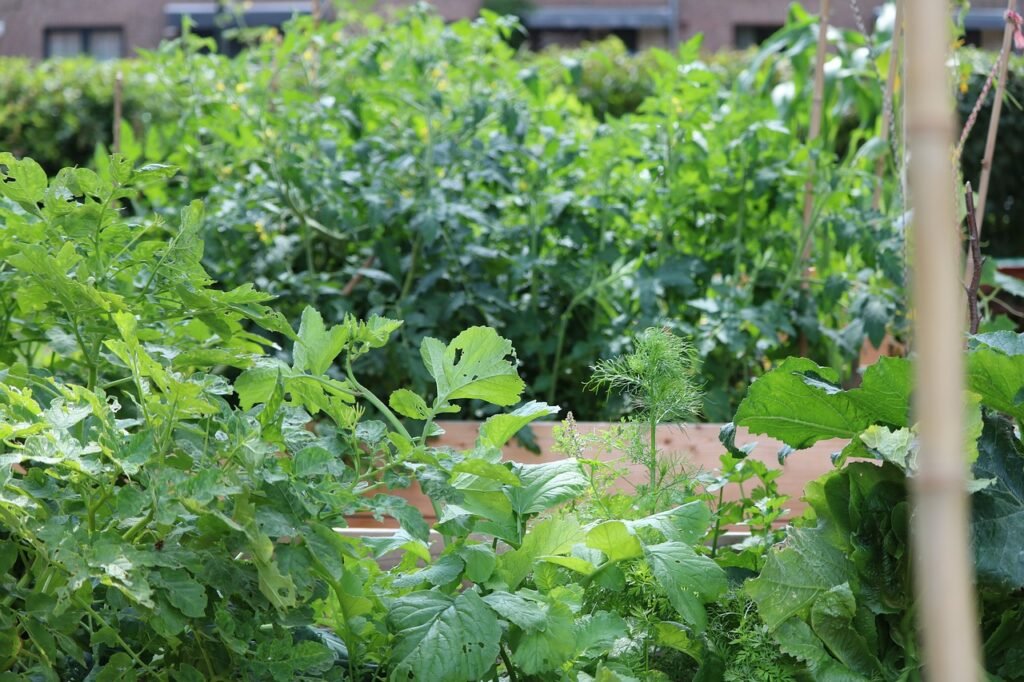
Before the overhaul, a backyard garden sputtered with wilted lettuce, stunted tomatoes, and soil that turned to hardpan after a single season. After applying the corrective strategies outlined below, the same space now bursts with vibrant greens, abundant harvests, and soil that stays loose and fertile year after year. The transformation proves that avoiding the typical birdies raised‑bed blunders is not optional—it’s the foundation of a productive garden.
📝 Quick Navigation
Common Challenges With Birdies Raised Beds (Common Mistakes) Mean?
Improper Soil Composition
Gardeners often fill raised beds with garden‑center potting mixes or cheap topsoil, assuming any soil will do. The result is a compacted, nutrient‑poor medium that chokes root development.
This happens because most commercial mixes lack the balanced texture and microbial life required for a raised‑bed ecosystem. Without the right sand‑to‑clay ratio and organic matter, water either drains too quickly or pools, leading to root rot or drought stress.
Poor Bed Placement and Sun Exposure
Many hobbyists position raised beds against walls or under trees, believing convenience outweighs sunlight needs. The consequence is a shaded, cool microclimate that hampers photosynthesis and delays fruiting.
The mistake stems from ignoring the sun‑hour requirements of the chosen crops. Most vegetables need at least six to eight direct hours of sunlight; a shaded bed reduces yields dramatically.
Inadequate Drainage Design
Neglecting proper drainage leads to waterlogged beds that foster fungal diseases and root suffocation. Over‑watering appears harmless until the soil becomes a soggy mess.
This occurs because raised beds often sit directly on compacted ground without a drainage layer. Without gravel or coarse sand at the base, excess water has nowhere to escape.
Overcrowding and Improper Plant Spacing
Enthusiastic gardeners pack seedlings tightly, assuming more plants equal more produce. The reality is stunted growth, increased competition for nutrients, and heightened pest pressure.
The root cause is a failure to respect each plant’s mature footprint. Crowding limits airflow, encourages humidity, and creates a breeding ground for disease.
Neglecting Soil Health Maintenance
Once the bed is filled, many owners treat the soil as a set‑it‑and‑forget‑it component, never amending it. Over time, essential microbes dwindle, and the soil structure collapses.
This neglect arises from a misunderstanding that raised beds are self‑sustaining. In truth, continuous organic matter addition and periodic testing are vital for long‑term fertility.
Birdies Raised Bed Methods Worth Knowing
1. Build a Balanced Soil Mix
Start with a 1:1:1 ratio of high‑quality compost, coarse sand, and well‑aged loam. Thoroughly blend the components in a wheelbarrow, ensuring uniform texture. Add a handful of rock‑phosphate and kelp meal for slow‑release nutrients. Finally, moisten the mix to field capacity before placing it in the bed.
- Why It Works:
- Provides optimal aeration and water retention.
- Supplies a diverse microbial community.
- Delivers balanced macro‑ and micronutrients.
2. Optimize Sunlight Orientation
Position the bed on a north‑south axis to capture maximum daylight across the season. Use a compass to verify orientation, then trim any overhanging branches that cast shadows before noon. If space constraints force an east‑west layout, select shade‑tolerant crops for the less‑lit side.
- Why It Works:
- Ensures each plant receives the minimum six‑hour sun requirement.
- Promotes consistent temperature gradients, reducing stress.
- Improves photosynthetic efficiency and fruit set.
3. Install a Drainage Layer
Lay a 2‑inch layer of washed gravel or crushed stone at the bottom of the bed before adding soil. Cover with landscape fabric to prevent soil migration. This simple step creates a capillary break, allowing excess water to percolate away.
- Why It Works:
- Prevents waterlogging and root rot.
- Maintains aerobic conditions for beneficial microbes.
- Extends the usable lifespan of the raised‑bed structure.
4. Practice Strategic Plant Spacing
Consult crop‑specific spacing charts and mark planting locations with a garden twine grid. Allow at least 12 inches between leaf lettuce, 24 inches for tomatoes, and 36 inches for sprawling vines. This spacing encourages airflow and reduces competition.
- Why It Works:
- Improves air circulation, lowering disease risk.
- Ensures each plant accesses adequate nutrients and water.
- Facilitates easier harvesting and weed control.
5. Implement a Soil Renewal Schedule
Every season, incorporate 2‑3 inches of fresh compost and a balanced organic fertilizer into the top layer. Conduct a simple pH test; adjust with lime or sulfur as needed. Rotate crops annually to break pest cycles.
- Why It Works:
- Replenishes depleted organic matter and microbes.
- Maintains optimal pH for nutrient uptake.
- Disrupts soil‑borne disease and pest buildup.
6. Use Mulch to Regulate Moisture and Temperature
Spread a 2‑inch layer of straw, shredded bark, or leaf mold over the soil surface after planting. Replenish mulch as it decomposes to keep the layer consistent. Mulch suppresses weeds while conserving soil moisture.
- Why It Works:
- Reduces evaporation, cutting irrigation needs.
- Buffers soil temperature fluctuations.
- Provides a slow‑release source of organic matter.
Comparison of Old vs. New Approaches
| Approach | Old Way | Better Way | Result |
|---|---|---|---|
| Soil Mix | Garden‑center potting mix | 1:1:1 compost‑sand‑loam blend | Improved structure, higher yields |
| Sunlight | Random placement | North‑south orientation, trimmed shade | Consistent growth, fewer weak plants |
| Drainage | No base layer | 2‑inch gravel + fabric | No waterlogging, healthier roots |
| Plant Spacing | Crowded seedlings | Crop‑specific grid | Reduced disease, easier harvest |
| Soil Maintenance | Set‑and‑forget | Seasonal compost + pH checks | Sustained fertility, longer bed life |
What This Means in Practice
In a suburban garden, a homeowner replaced a cheap potting mix with the 1:1:1 blend and saw lettuce heads double in size within three weeks, while earlier attempts produced thin, bitter leaves.
A community garden that re‑oriented its raised beds to a north‑south axis reported a 30% increase in tomato fruit set, attributing the boost to uniform sunlight exposure.
A small farm that added a gravel drainage layer eliminated root rot in its early‑season carrots, allowing a second planting cycle that added an extra 200 pounds of yield.
A family that adopted strict spacing grids eliminated powdery mildew on cucumbers, reducing pesticide use by half and cutting labor time for disease management.
A weekend gardener who instituted a seasonal compost top‑dress observed richer soil crumb, leading to a longer harvest window for beans and a noticeable improvement in flavor.
Step-by-Step Action Plan
- Assess current soil; discard any cheap potting mix and gather compost, sand, and loam.
- Mix soil components in equal parts; add rock‑phosphate and kelp meal, then moisten to field capacity.
- Position the raised bed on a north‑south axis using a compass; prune any shading branches.
- Lay a 2‑inch gravel base and cover with landscape fabric before filling with soil.
- Mark planting spots with a twine grid, adhering to crop‑specific spacing guidelines.
- After planting, spread a 2‑inch mulch layer of straw or shredded bark to retain moisture.
- Schedule a seasonal soil renewal: add 2‑3 inches of compost, test pH, and adjust before the next planting cycle.
To Sum Up
Birdies raised beds are powerful tools, but only when the common mistakes are eradicated. By rethinking soil composition, orientation, drainage, spacing, and ongoing maintenance, gardeners unlock consistent, high‑quality harvests. Implement the proven methods today and watch the garden transform from a source of frustration to a thriving, resilient food oasis.